I’ve always be interested in models / prop / knick knacks I was just never really pursued this interest much. Recently I have been watching several YouTube series that cover prop making and weather. It has really been very interesting to me, perhaps it is the attention to detail and getting the prop just right. Never the less I decided that I wanted to try my hand at making a prop. I deiced to start with something very simple, not many shapes or parts, and so I settled on the mini nuke from Fallout 4.
Over the course of a few weeks and some where in the neighborhood of about $40 I ended up making something that I believe is display worthy. I learned a ton and had a lot of fun building it. I find it very therapeutic and relaxing to actually make something with my hands. Perhaps it’s because I making a living off of pushing pixels but making something in the physical world just makes me happy. Below is a very quick overview of the steps I went through but it is by no means a step-by-step guide to making your own.
The Process
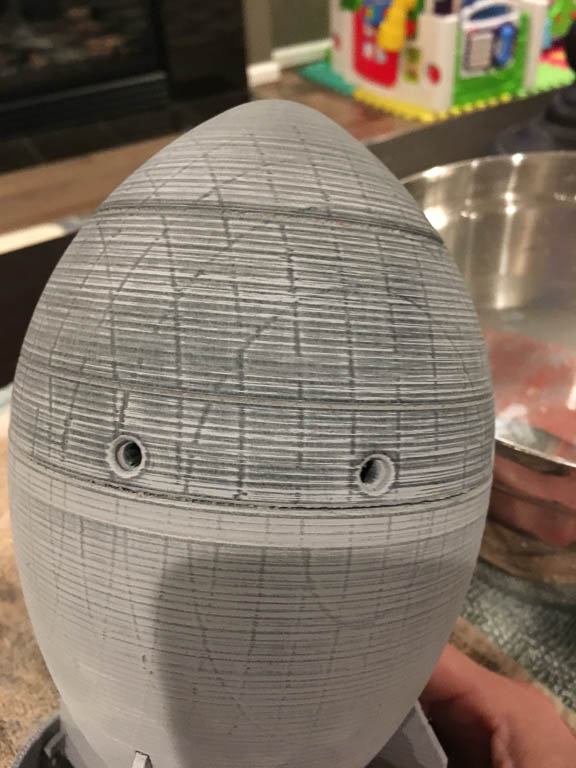
To make my life easier I 3D printed the core of the prop. Although it turned out to take a lot longer to prep for paint than I thought.
I used a combination Primer and filler meant for use on cars to prime and fill the ribs of the 3D print.
I ended up printing this in PLA because I’ve had better luck with it over ABS. Because I choose to use PLA I wasn’t about to use a solvent to smooth the print and instead had to wet sand, A lot!
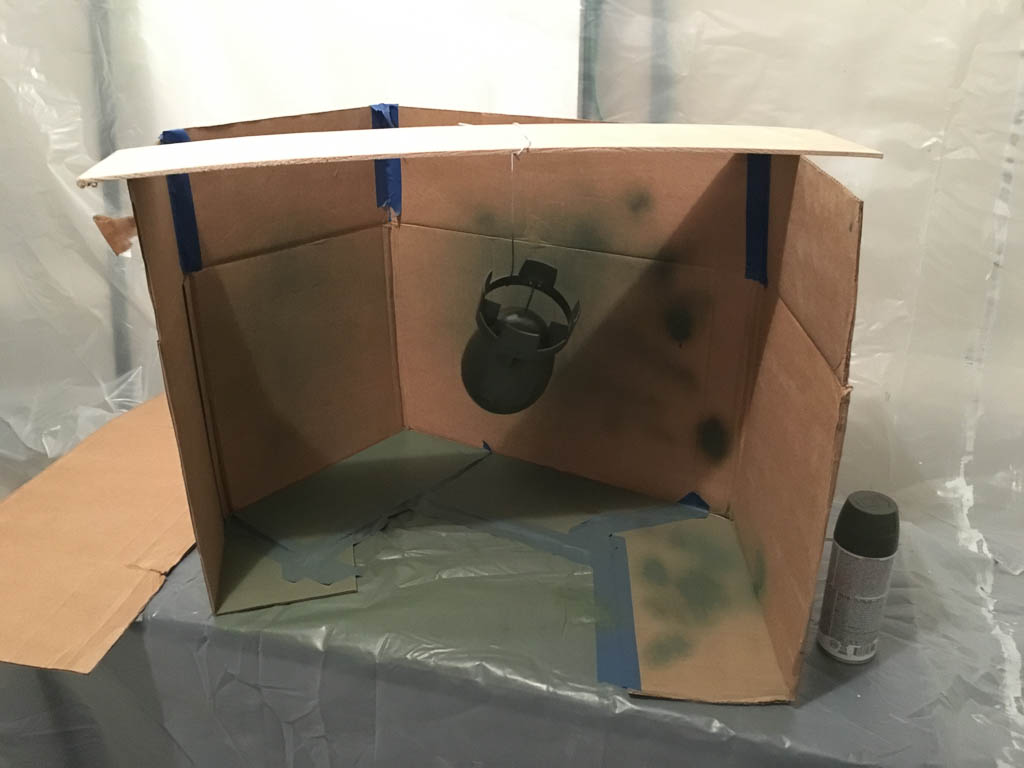
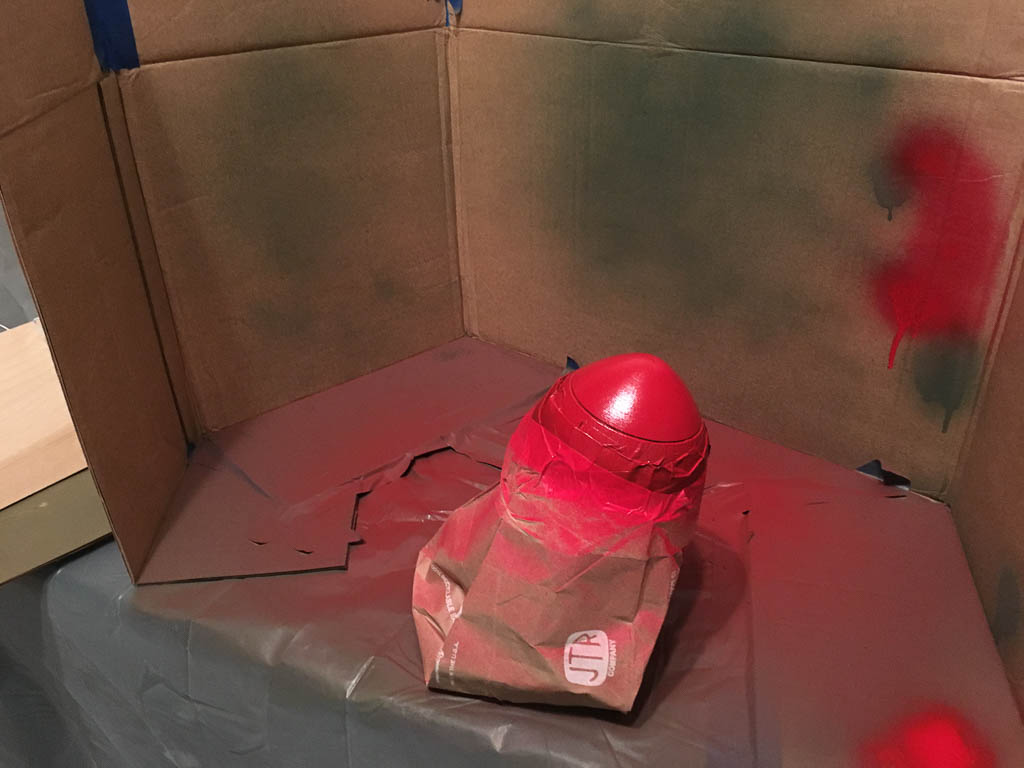
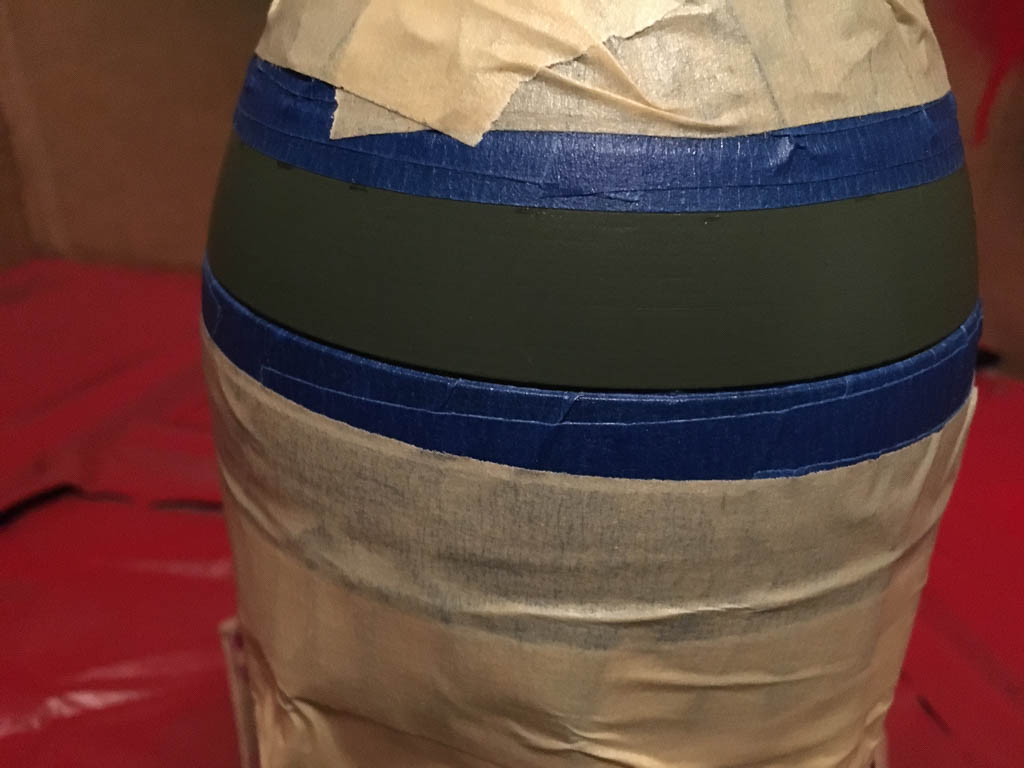
I used basic rattle can matte acrylic paint.
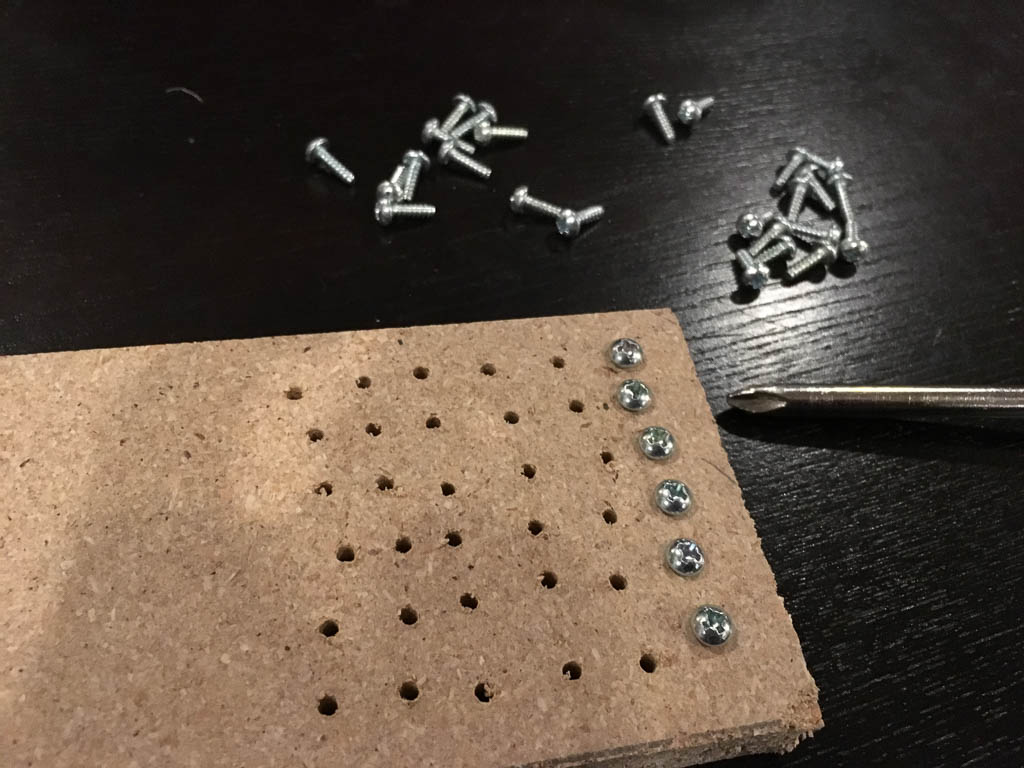
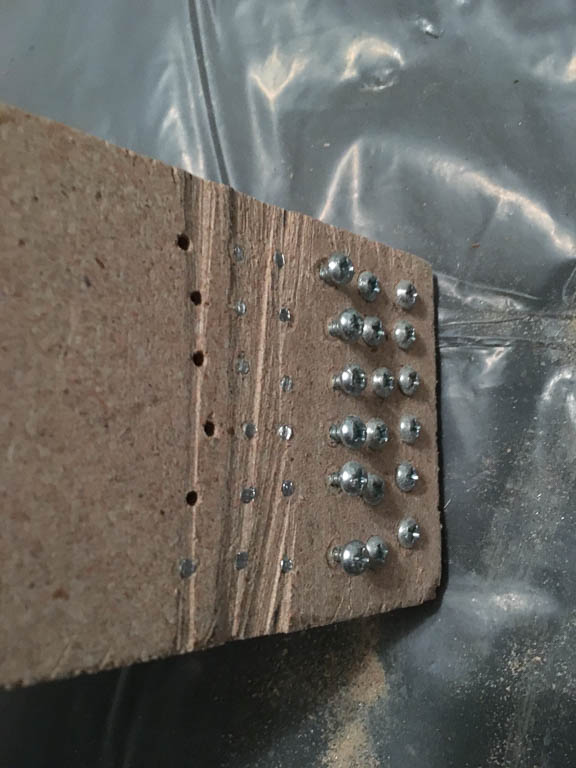
To me the screws in the casing of the mini nuke stand out so I want to use some real screws rather than 3D printing some. I didn’t want the screws to be new and shiny, I wanted to weather them. Rather than just use paint I want to build up some dimension by “scuffing” them up. Which is to say that I took sand paper, a hammer, and a hack saw and beat the crap out of them. This was easier to do if I screwed them all into a board.
I was only able to find longer screws that had a head that I thought matched well enough, so I ended up using a hack saw to cut the heads of and then super glued them onto the prop.
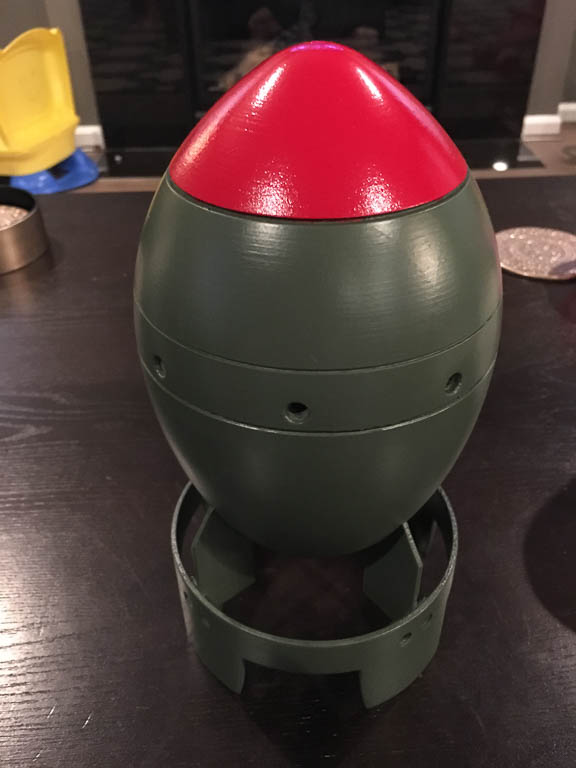
Last but not least was the weathering, I used a simple mixture of red, black, and brown acrylic paints. It’s a lot of brush it on and whip 99% of it off. However, because the mini nuke comes from a post apocalyptic world I assumed it would be pretty dirty so I had a lot of freedom to make “mistakes.” Below are the results of the weathering. I also added a clear matte protective coat over the whole thing.
Photo Shoot